Creating an image from shaded
view
When you have positioned the camera in
Shaded view, you can export the view as an image stored in your computer.
To export an
image from shaded view
- Right-click on the Shaded view and select .
Result: The
Shaded View Image Export window appears.

- In the Image Dimensions section,
use the appropriate boxes to adjust the height and width of the image.
The height and width correspond to the
current dimensions of the Shaded view.
- Select the Lock Aspect
Ratio checkbox to lock the aspect ratio of the dimension.
Type the new value in the Aspect Ratio box
to change the aspect ratio.
- WYSIWYG enables the Ultra
High Quality Export checkbox if an 8GB (or more) graphics
card is detected.
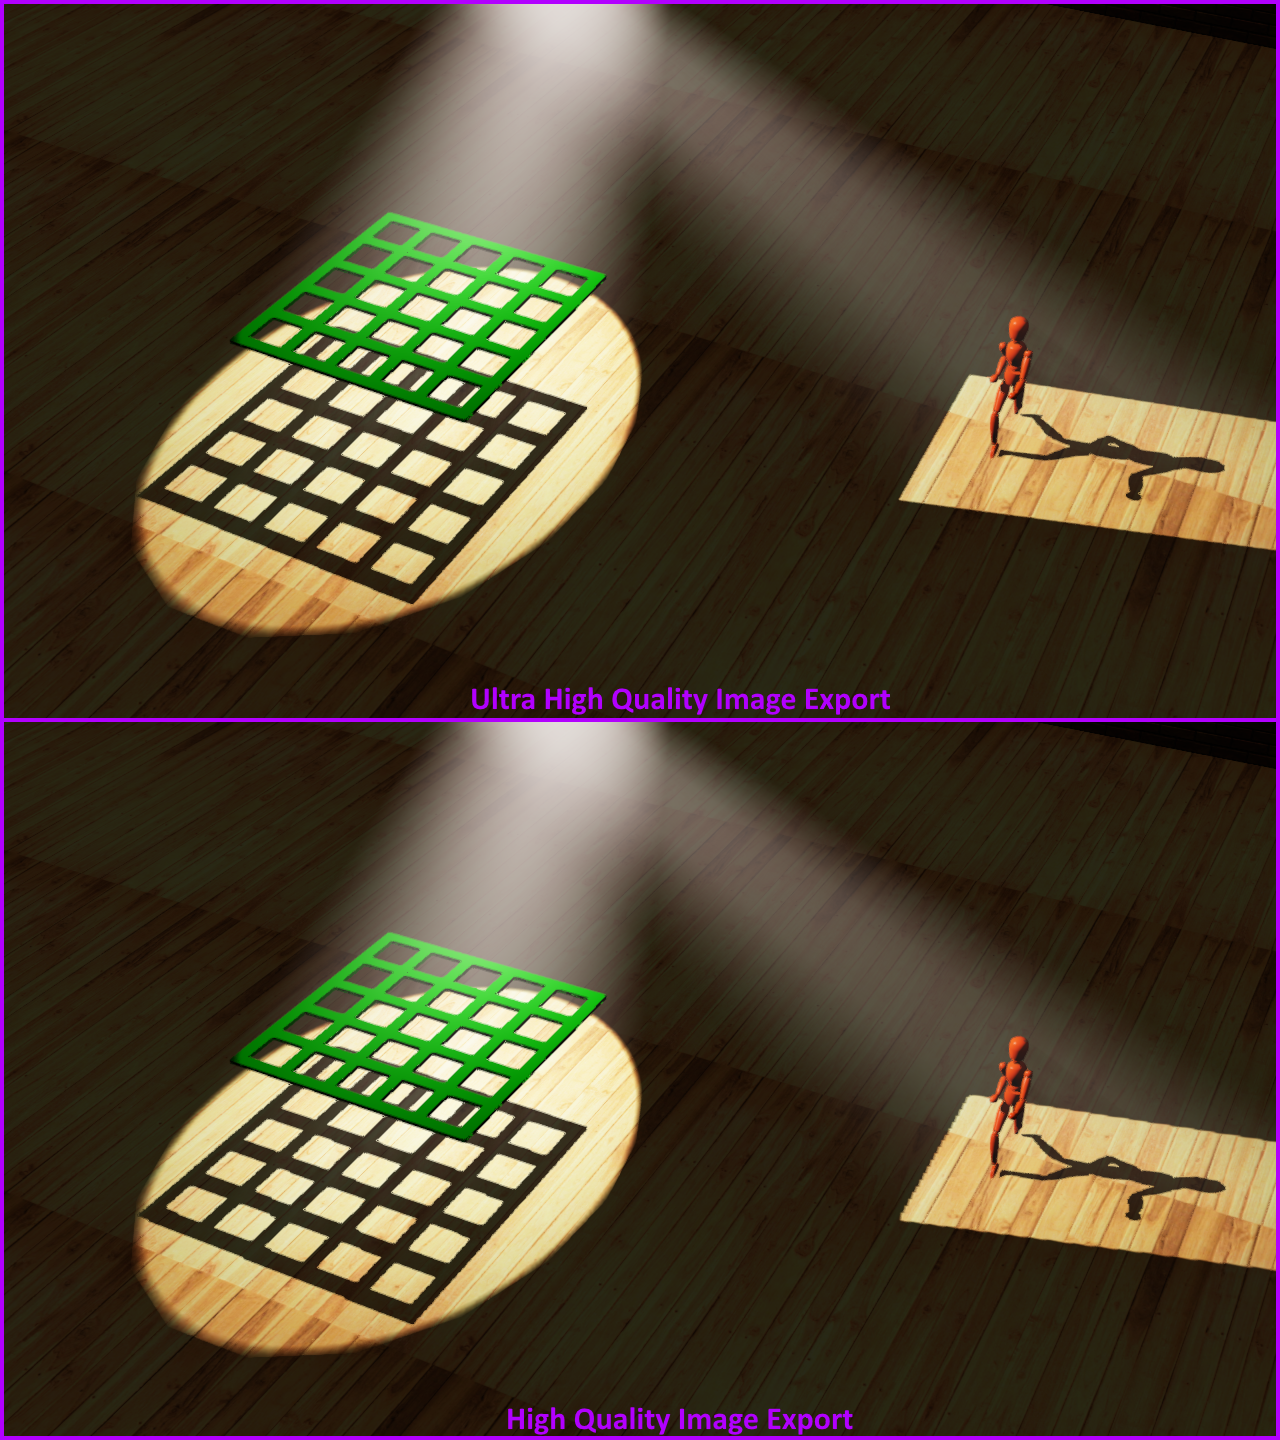
Select the Ultra
High Quality Export checkbox to export the Shaded view to
a higher fidelity image (with better defined and crisper beams, less aliasing
on shadows, etc.) than what appears in the Shaded view. See below the
image comparison between Ultra High Quality Image Export and High Quality
Image Export.
Note: Selecting
the Ultra High Quality Export checkbox
disables the Export Panorama option.
- In the Panorama Images section,
select the Export Panorama checkbox
to export a panoramic image of your Shaded view and enable the projection
options.
Note: The
maximum resolution of an image for export is 8192 x 4096 pixels if WYSIWYG
detects the user’s computer video card has enough Video Memory to support
a large panorama image. Regardless of how much Video Memory is available,
it is not possible to export Ultra High Panorama Images.
- Select Spherical Projection to
export the panoramic image as a Spherical image showing up to a full
360 degrees camera view that includes top and bottom.
Or select Cylindrical
Projection to export the panoramic image as a Cylindrical
image showing up to a full 360 degrees camera view of the sides only.
- Select the image display quality in pixels from
the Resolution drop-down list of the
selected option.
- In the Field Of View field,
type the maximum panoramic angle for the image.
- Select the Open file location
after export checkbox to launch the exported file after
saving.
- Click OK.
- Select a file name, location, and file type, and
then click Save.
Notes:
- A file name template can be specified in Shaded View Export Options in the File Options tab of the Application
Options window.
- Alternately, a file name is automatically assigned
using smart variables, which is also defined in Shaded
View Export Options in the File
Options tab in the Application
Options window. See File
Options tab.